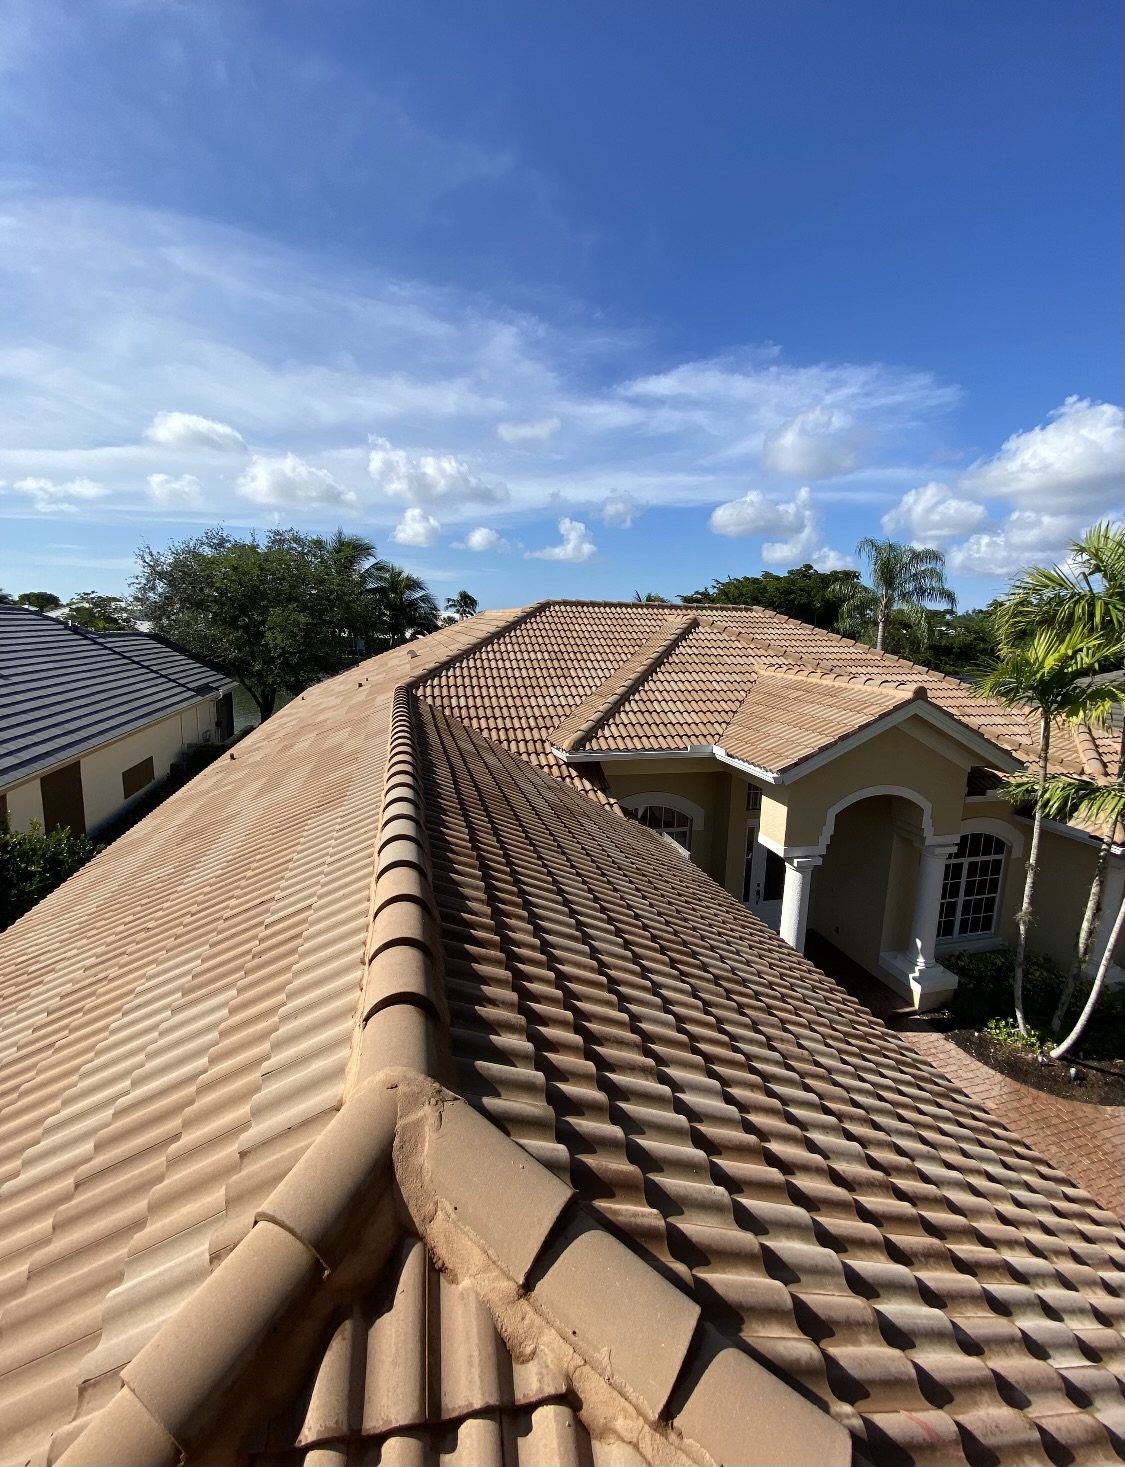
Paver sealing is a targeted hardscape maintenance step that applies a protective coating to driveway pavers to lower porosity, block stains, and slow weather-related wear. Depending on the product, the sealer forms either a surface film or a penetrating barrier and often includes UV stabilizers, water repellents, and antimicrobial agents. Together, these ingredients help preserve color, repel moisture, and limit biological growth. For homeowners in Naples, FL, sealing extends pavement life, reduces cleaning frequency, and boosts curb appeal—making it a practical defense against strong sun, humidity, heavy rain, and coastal salt. This article explains how sealers defend driveways in Naples, outlines the professional sealing process, compares sealer choices for concrete, brick, and travertine, and reviews maintenance schedules and cost factors for local properties. Read on to learn how the right sealer, professional prep, and a simple upkeep plan protect your driveway in Naples’ unique climate.
Paver Sealing: Use of UV Inhibitors and Water Repellents to Improve Driveway Protection
The sealing mechanism creates either a surface film or a penetrating barrier that incorporates UV stabilizers, water-repellent chemistry, and often antimicrobial additives. These elements work together to preserve color, reduce moisture penetration, and limit biological growth.
Stabilization of jointing sand in block paving, 1993
Why Professional Paver Sealing Pays Off in Naples, FL
When applied by a professional, paver sealing delivers clear, measurable protection: it combines surface defense with joint stabilization and biological control to improve durability, preserve looks, and lower long‑term maintenance costs. A pro-grade sealer resists oil and water-based stains, adds UV protection to slow color fade, and—when paired with polymeric sand—helps keep joints intact so pavers don’t shift or settle.
Translated for homeowners, these technical gains mean fewer repairs, longer-lasting color and finish, and less frequent deep cleaning—outcomes that protect both daily use and property value. Below are the main homeowner benefits and what they mean in practice.
Paver sealing delivers these homeowner benefits:
- Durability and structural protection: Slows erosion, reduces joint washout, and lowers the risk of settling.
- Aesthetic preservation: UV stabilizers help maintain color and finish, cutting the need for restoration.
- Stain and spill resistance: Limits penetration from oil, grease, and common driveway contaminants.
- Biological growth control: Reduces mold, mildew, algae, and weed germination by limiting retained moisture.
These advantages lower lifecycle costs and boost curb appeal, making a strong case for a professional assessment. Local paver sealing and restoration contractors in Naples can provide on-site inspections and quotes that match sealer chemistry and process to your driveway’s condition.
How Sealing Improves Driveway Durability and Appearance
Sealing improves durability by forming a protective layer or by impregnating the paver to reduce porosity, which limits water penetration and sand loss from joints. UV stabilizers slow pigment breakdown, while film-forming or penetrating chemistries reduce abrasive wear from traffic and weather—helping preserve surface texture and color. For example, a sealed brick driveway exposed to strong sun and seasonal downpours will fade more slowly and keep sharper edges than an unsealed one, delaying restoration needs. Professional work typically includes polymeric joint stabilization, which cuts movement and settlement that can distort alignment and create trip hazards. Understanding these durability effects leads naturally into how sealing also reduces biological growth on pavers.
How Sealing Reduces Mold, Mildew, Algae, and Weed Growth
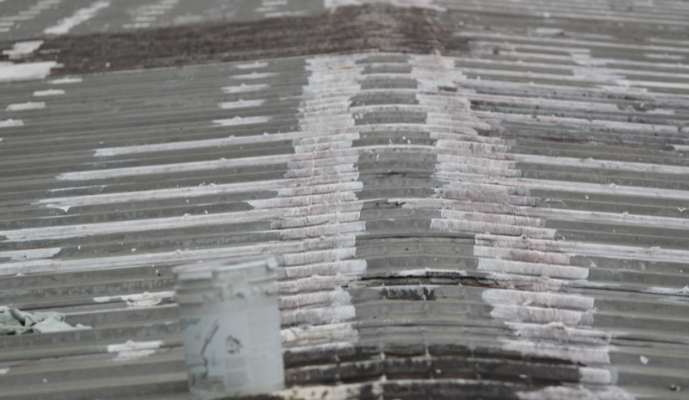
Sealing limits biological growth mainly by lowering surface porosity and reducing retained moisture—conditions that let spores and weed seeds take hold in Florida’s humid climate. Sealers with antimicrobial or fungicidal additives further discourage organism growth on surfaces and in joints. Using polymeric sand to stabilize joints also eliminates gaps where seeds can sprout. In practice, a properly sealed driveway sheds surface water that would otherwise soak in and create ideal microenvironments for algae and mildew, cutting down on green or black staining and the need for harsh cleaners. Opting for breathable, water-repellent sealers preserves these benefits without trapping moisture beneath the surface—an important balance in high-humidity areas.
How Florida’s Weather Accelerates Damage to Driveway Pavers
Florida’s climate—intense UV, high humidity, heavy seasonal rain, and coastal salt spray—creates multiple stressors that speed paver deterioration more than in milder regions. UV rays drive pigment and polymer breakdown, humidity promotes biological growth and efflorescence, heavy rain washes joint sand and causes erosion, and salt spray can stain pavers and degrade binders. Knowing how each factor works helps homeowners pick sealers and maintenance intervals that fit Naples’ conditions. The next section breaks down the effects of UV and humidity, followed by rainfall and saltwater impact.
Florida’s weather causes these common paver problems:
- UV exposure: Fades pigments and breaks down surface binders, causing chalking.
- High humidity: Encourages algae and mildew growth and raises cleaning frequency.
- Heavy rainfall: Washes out joint sand, increasing settlement and shifting.
- Saltwater exposure: Leads to salt crystallization, staining, and binder deterioration.
Together, these stressors make targeted sealer features—UV inhibitors, breathable water repellency, and antimicrobial additives—important for long-term paver performance. Examining UV and humidity effects clarifies why sealer choice matters.
What Damage Do UV Rays and Humidity Cause?
UV light triggers photodegradation of pigments and polymer components in topical coatings, causing color loss, surface chalking, and eventual weakening of the surface film. Over time, sealers without strong UV stabilizers can break down, making surfaces more vulnerable to wear from traffic and cleaning. Humidity worsens the issue by encouraging mold, mildew, and algae growth; these organisms can discolor pavers and sometimes secrete acids that accelerate surface breakdown and efflorescence. In Naples’ high-UV, high-humidity environment, choosing sealers with UV inhibitors and breathable formulations reduces these failure pathways and helps preserve both appearance and surface integrity. The next section explains how rainfall and salt further accelerate deterioration.
How Rainfall and Saltwater Speed Structural Deterioration
Frequent heavy rain increases hydraulic force on paved areas, washing out jointing sand and exposing pavers to movement and settlement that harm both looks and structural performance. Coastal salt introduces chloride ions that stain porous pavers and, through repeated crystallization cycles, can cause micro-scaling and binder breakdown. These problems get worse when combined—washed joints let salt and organic debris collect below the surface, intensifying crystallization damage and staining. Mitigation includes choosing breathable, water-repellent sealers, stabilizing joints with polymeric sand, and shortening maintenance cycles for coastally exposed driveways. With those measures in mind, the next section outlines the professional sealing workflow that addresses these issues.
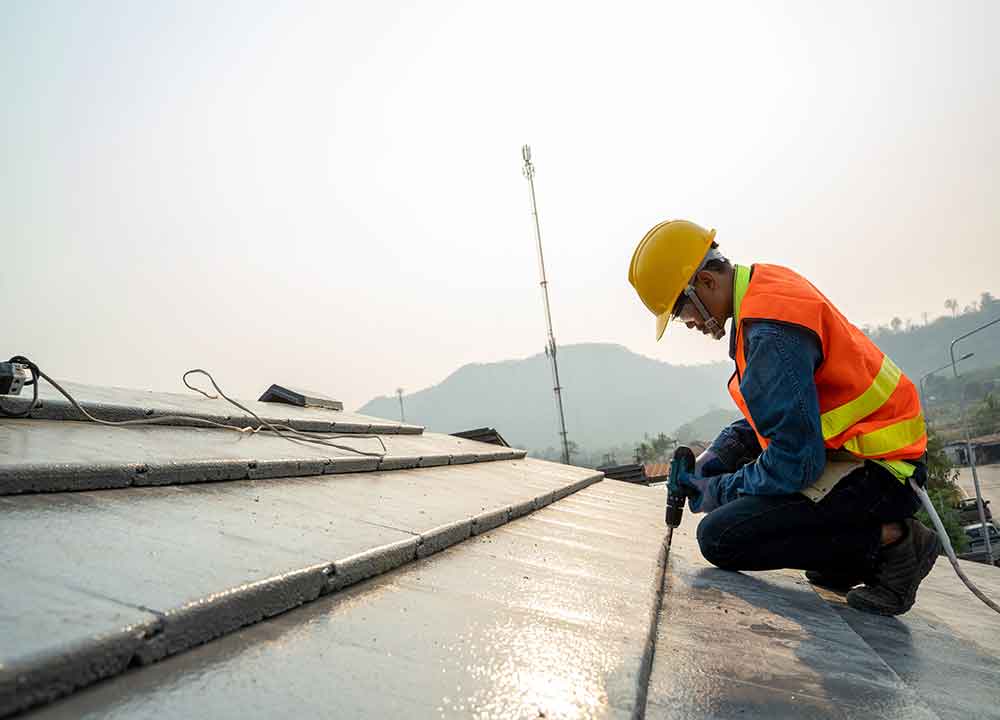
What to Expect from a Professional Paver Sealing Process in Naples, FL
Professional paver sealing in Naples follows a defined workflow: inspection, deep cleaning, joint stabilization, sealer selection and controlled application, then curing and final quality checks. Each step addresses a likely failure mode—cleaning removes biological and contaminant buildup; joint re-sanding restores support; the sealer chemistry protects against UV, salt, and moisture; and correct curing secures long-term adhesion. Providers use calibrated equipment and schedule work around humidity and temperature to avoid hazing, bubbling, or trapped moisture—issues that are especially important in Florida’s climate. Below is a step-by-step summary of a typical professional process.
- Inspection and assessment: Identify material type, damage areas, and exposure level.
- Deep cleaning and stain treatment: Pressure washing, detergents, and efflorescence removal.
- Joint preparation and polymeric sand application: Rebuild and stabilize joints to prevent movement.
- Sealer selection and controlled application: Apply the right water-based or solvent-based sealer under recommended conditions.
- Curing and final inspection: Allow proper cure time and verify even coverage and joint stability.
Local Naples contractors typically offer these professional steps to ensure industry-standard workmanship and environmental best practices. The sections that follow explain cleaning and sealer types in more detail and include an EAV table that links each task to its expected outcome.
Cleaning and preparation are essential because contaminants and old coatings block adhesion and can trap moisture, leading to hazing and premature failure. Professionals use calibrated pressure-wash settings, targeted detergents, and efflorescence treatments to remove salts and biological stains without harming the paver surface. Joint cleaning and polymeric sand restore interlock and reduce movement—preventing future sand washout that undermines structural integrity. When heavy staining or old sealers are present, selective stripping may be necessary to expose a clean substrate; this requires experience to avoid etching or uneven results. Proper preparation helps ensure the sealer bonds correctly and performs as intended.
| Process Step | Typical Professional Task | Expected Outcome/Value |
|---|---|---|
| Inspection and assessment | Material identification and exposure mapping | Correct sealer choice and accurate scope estimate |
| Deep cleaning & stain removal | Pressure washing, detergents, efflorescence treatment | Better adhesion and restored surface appearance |
| Joint rebuilding | Polymeric sand installation and compaction | Stabilized joints with reduced sand washout and movement |
| Sealer application | Controlled spraying or rolling with recommended product | UV protection, water repellency, and stain resistance |
| Curing & inspection | Environmental monitoring and final quality check | Longer-lasting protection and a consistent finish |
This EAV table connects each process step to homeowner value so you can see why professional preparation affects longevity and appearance. The next section compares sealer families and how they protect pavers.
How Pavers Are Cleaned and Prepared Before Sealing
Initial cleaning removes organic growth, oils, and efflorescence that block sealer penetration or adhesion, using calibrated pressure washing, suitable detergents, and targeted stain removers. Pros typically follow cleaning with joint vacuuming and polymeric sand replacement to rebuild interlock and prevent movement; this reduces weed opportunities and stabilizes the surface. When old sealers or heavy staining exist, selective stripping may be needed to expose sound substrate—this lowers the risk of hazing or uneven finishes after application. Professionals also control drying times to match Florida’s humidity, monitoring moisture content to avoid trapping water under new sealers, which can cause failure. Effective prep directly extends the life and performance of the sealing treatment.