A stained, grimy concrete driveway doesn’t just look bad, it can actually become a slip hazard when Florida’s afternoon rain hits that layer of algae and mold. If you’ve been wondering how to clean a concrete driveway, you’re not alone. Between the humidity, the rain, and the constant sun, driveways down here take a beating that homeowners in drier climates never have to think about. The good news is that with the right equipment and technique, you can restore your concrete to near-original condition in a single afternoon.
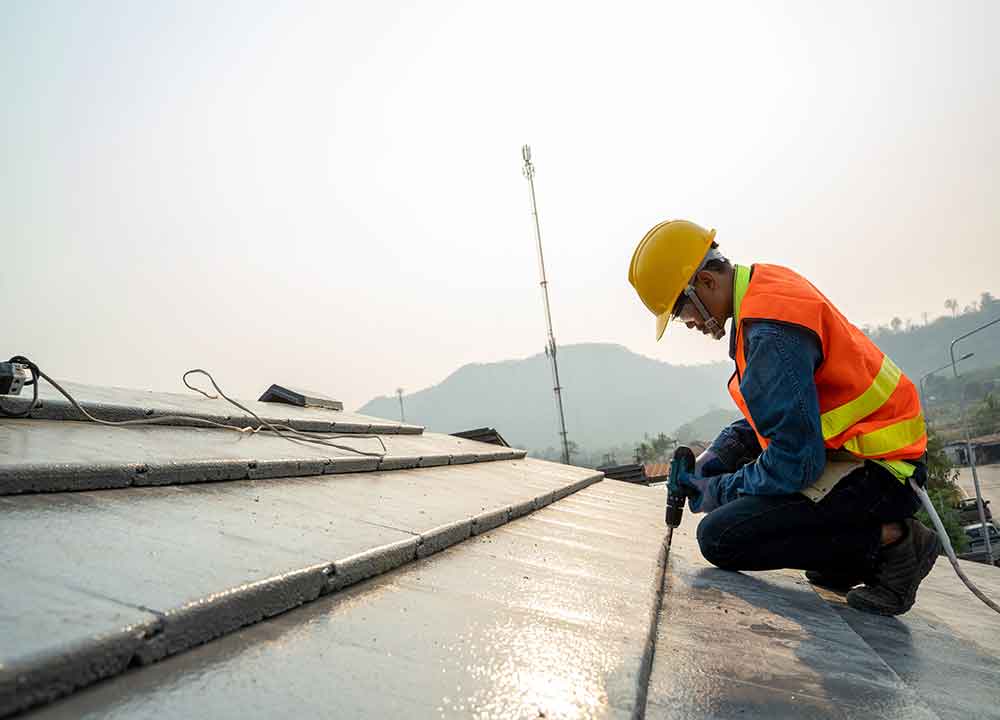
At Florida Clean Roof, we’ve spent over 20 years cleaning and maintaining residential exteriors across Southwest and Southeast Florida, and that includes thousands of driveways, walkways, and hardscape surfaces. Our team uses professional-grade pressure washing methods daily, so we know exactly what works on Florida concrete and what just wastes your time. We put together this guide to share that hands-on knowledge with homeowners who want to tackle the job themselves.
Below, you’ll find a complete walkthrough covering the equipment you’ll need, the best cleaning solutions for common stains, and a step-by-step process from prep to final rinse. We’ll also point out a few mistakes that can damage your concrete or leave you with results that fade within weeks. Whether you’re dealing with tire marks, oil spots, or that green film that seems to appear overnight, this guide has you covered.
What to do before you start
Before you touch a pressure washer, spend a few minutes on prep. Skipping this step is how people end up with streaky results or accidentally damage their landscaping, vehicles, or garage door seals. Good prep makes the actual cleaning go faster and gives you a much cleaner finished surface when you’re done.
Gather your equipment and supplies
You don’t need to rent commercial equipment to get good results, but having the right tools on hand makes a real difference. Here’s what you’ll want before you start and why each item matters:
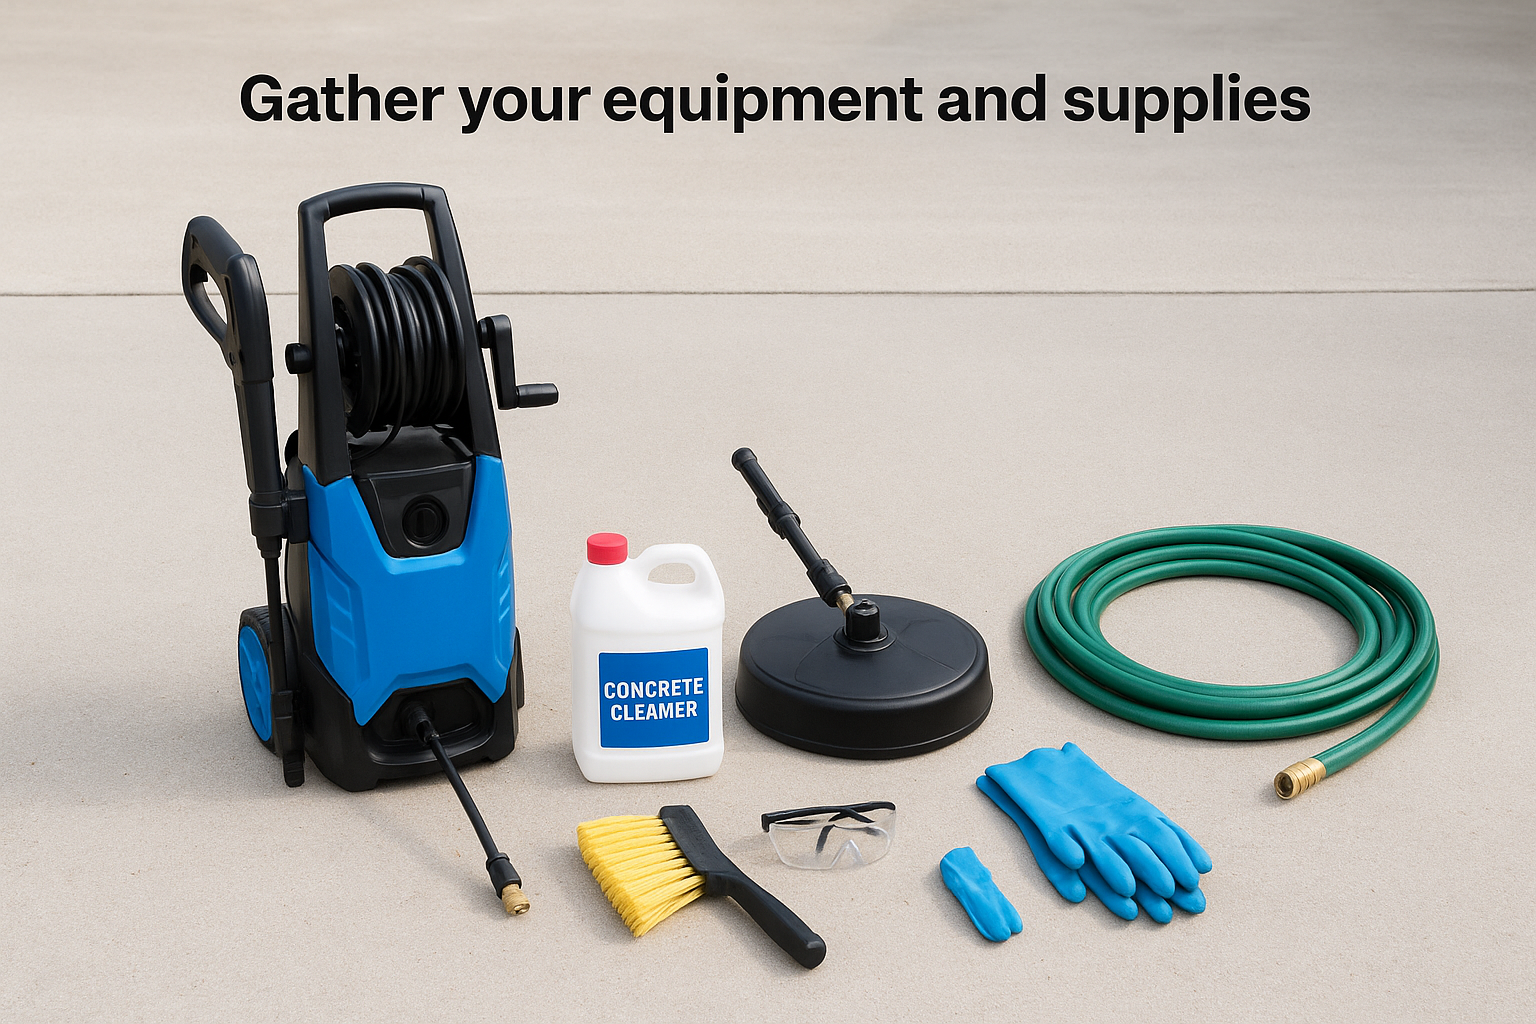
- Pressure washer: A gas or electric unit rated at 2,000-3,000 PSI works well for concrete. Electric models handle light cleaning; gas units tackle heavier stains better.
- Surface cleaner attachment: This spinning disk attachment delivers an even, streak-free result compared to a standard wand. It’s especially worth using on a full driveway.
- Concrete degreaser or cleaner: Look for a product rated for concrete surfaces. For most Florida driveways, an alkaline degreaser handles oil, mold, and algae effectively.
- Stiff-bristle brush: You’ll use this to scrub pre-treatment into stains before washing.
- Safety glasses and rubber gloves: Cleaning agents and high-pressure water both cause injury without proper protection.
- Garden hose with good pressure: You’ll need this for rinsing and for pre-wetting the surface before applying any cleaner.
Having everything staged before you begin means you won’t have to stop mid-job to track down supplies, which can let cleaning solution dry on the surface and cause streaking.
Check the weather and protect your surroundings
Florida weather moves fast, and timing your cleaning day matters more than most people realize. Aim for a morning start on a day with no rain forecasted for at least four to six hours. Direct afternoon sun can dry your cleaning solution before it has time to work, which reduces effectiveness and can leave residue baked onto the concrete.
Before you turn on any water, move vehicles, bikes, and outdoor furniture away from the driveway. Cover nearby plants and grass with plastic sheeting if you’re using a chemical degreaser, since concentrated cleaning agents can stress or kill landscaping. Wet your lawn and garden beds with plain water first as an extra precaution. Once the area is clear and protected, you’re ready to move through the full process of how to clean a concrete driveway without causing any unintended damage along the way.
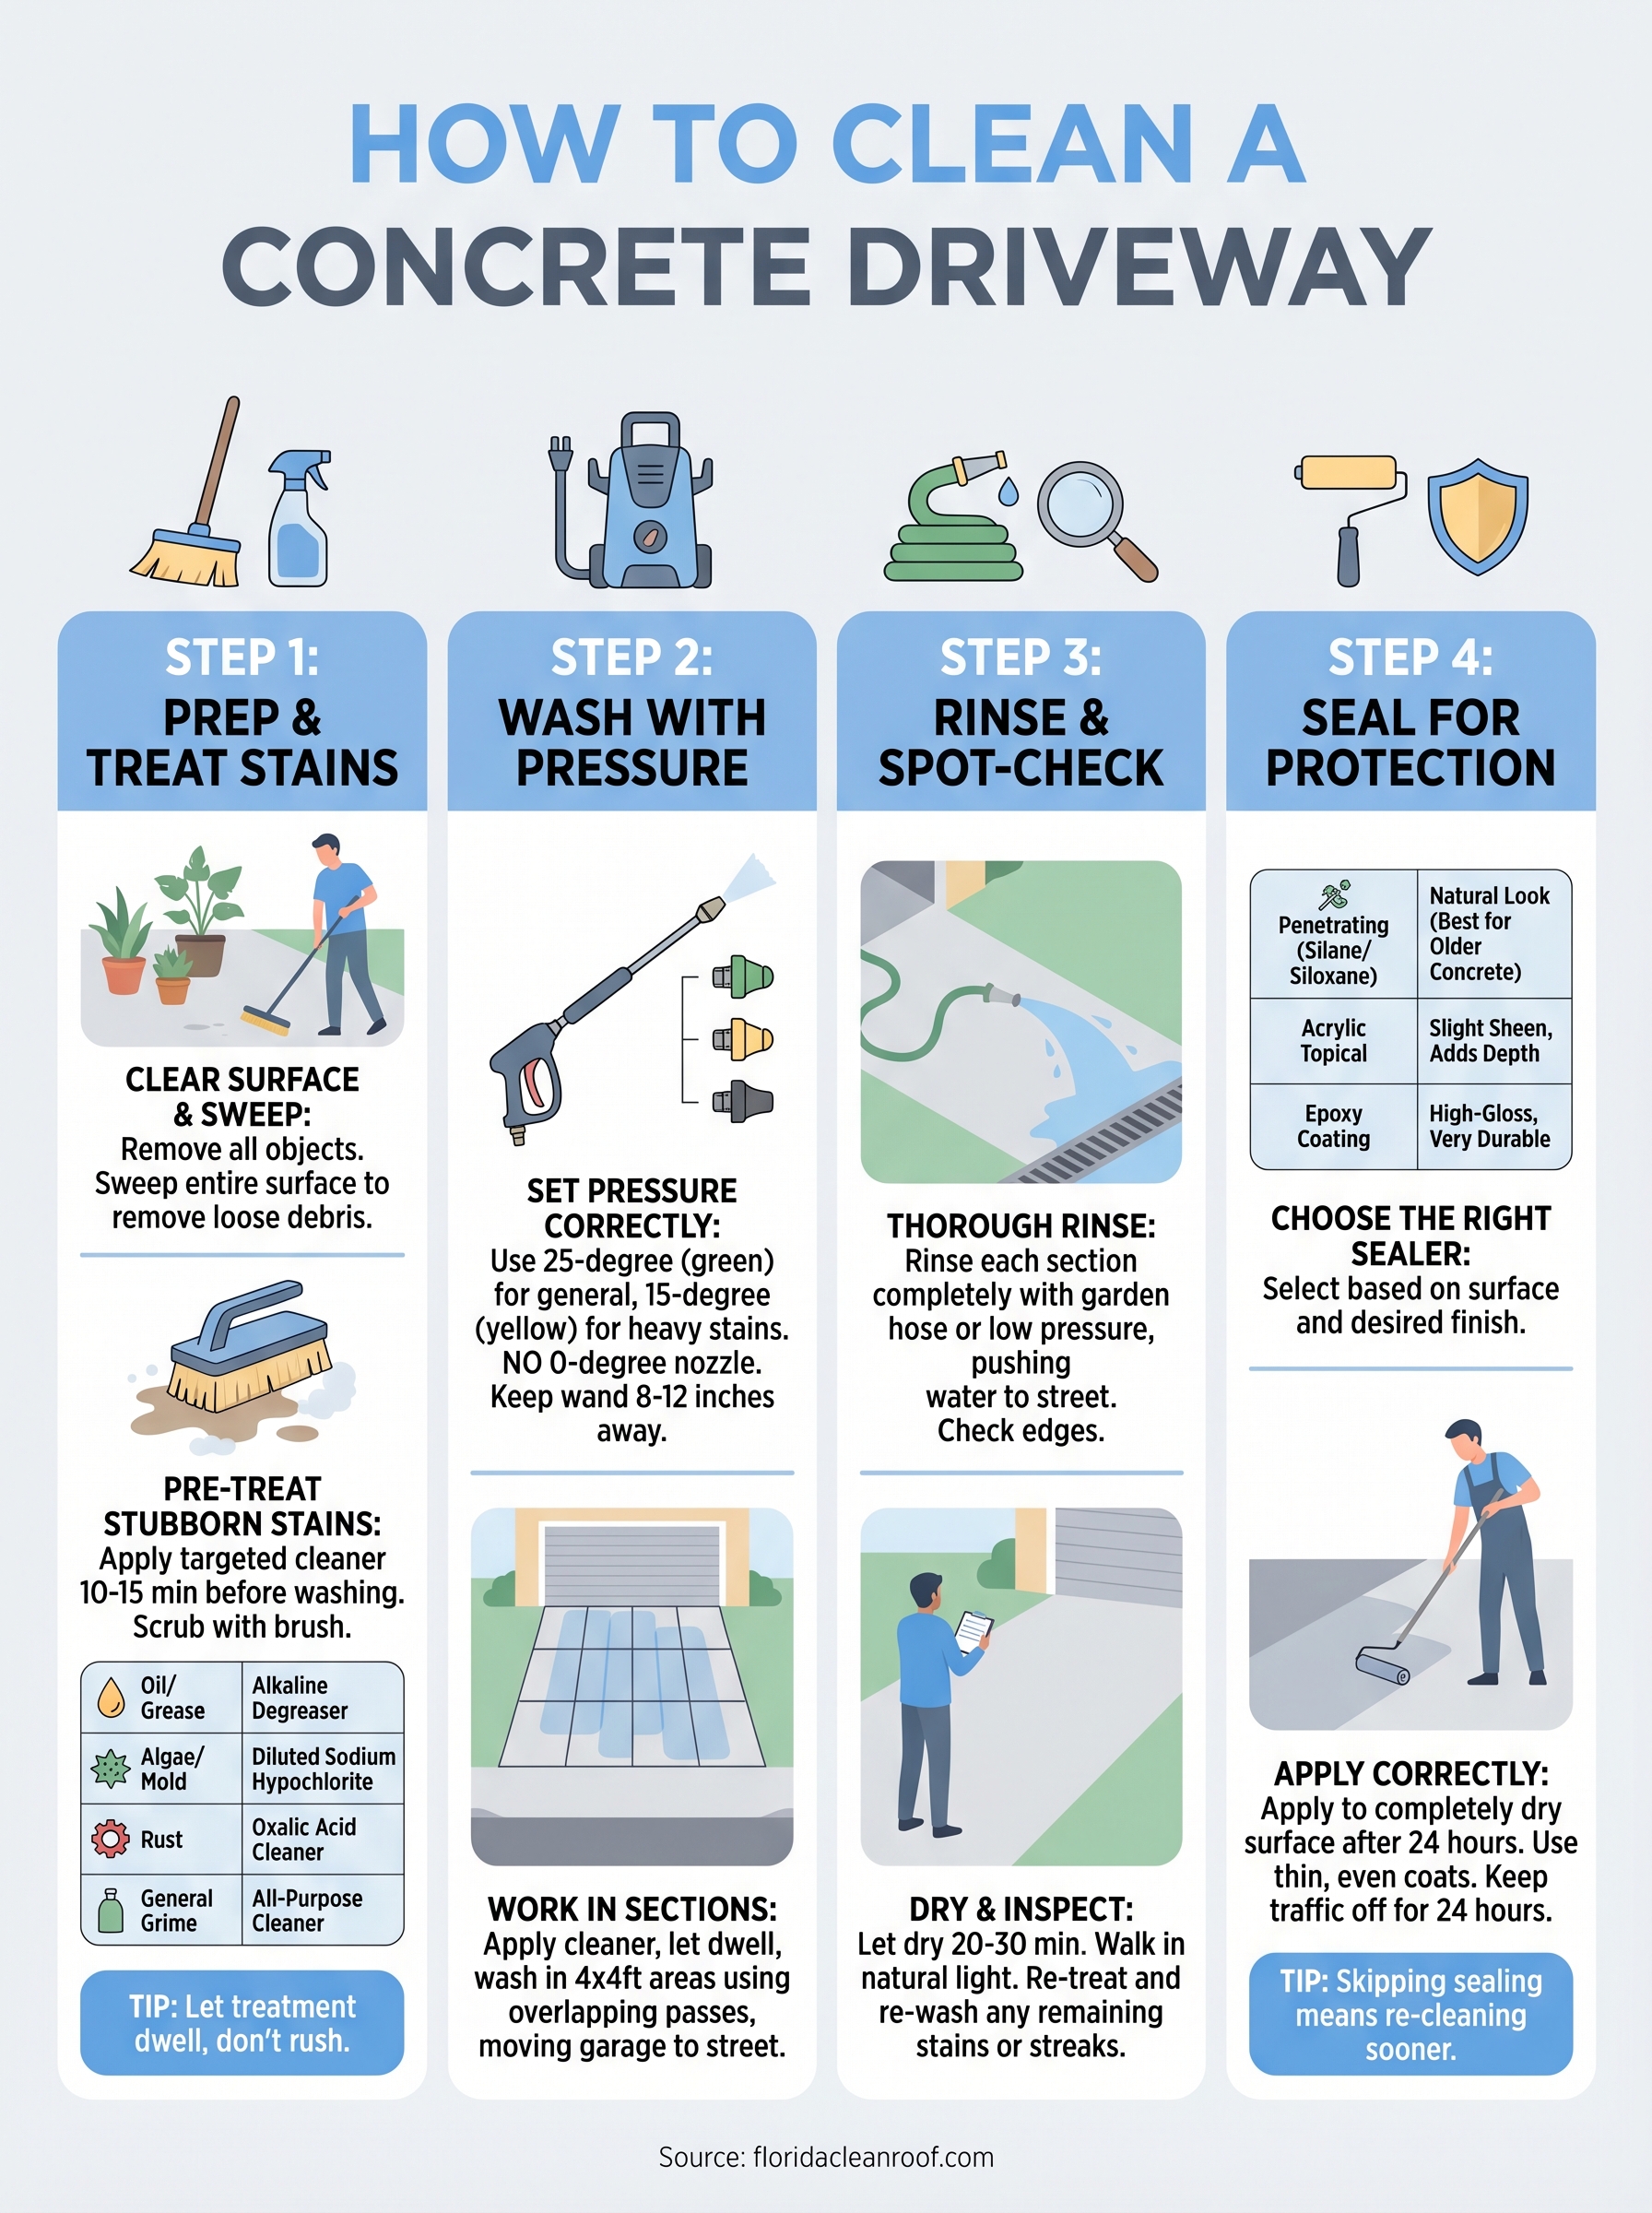
Step 1. Clear the surface and treat stains
Before you apply any water or cleaning solution, remove every object from the driveway surface. This includes cars, trash cans, potted plants, garden tools, basketball hoops, and anything else sitting on the concrete. You want full, unobstructed access to the entire surface so you don’t end up cleaning around obstacles and leaving dirty patches behind.
Sweep and inspect the concrete
Once the driveway is clear, grab a stiff push broom and sweep the entire surface from back to front. This removes loose debris like leaves, dirt, and gravel that would otherwise get pushed around by water during washing. After sweeping, walk the driveway slowly and note where your problem areas are: look for oil stains near the garage entrance, green or black biological growth along the edges, rust spots from metal furniture, and any cracks or spalling that need attention before water hits them.
Pre-treat stubborn stains
Stain pre-treatment is the step most homeowners skip, and it’s exactly why their results look uneven. Apply your chosen cleaner directly to each stain at least 10 to 15 minutes before you start washing, then scrub it in with a stiff-bristle brush using circular strokes. Use the guide below to match your treatment to the stain type:
| Stain Type | Recommended Treatment |
|---|---|
| Oil or grease | Alkaline concrete degreaser |
| Algae or mold (green/black film) | Sodium hypochlorite diluted solution |
| Rust | Oxalic acid-based concrete cleaner |
| General dirt and grime | All-purpose concrete cleaner |
Letting the pre-treatment dwell on the stain long enough is what separates a clean driveway from a streaky one, so don’t rush this step.
This pre-treatment process is a key part of how to clean a concrete driveway effectively, because the pressure washer alone won’t lift deep-set stains without chemical help first.
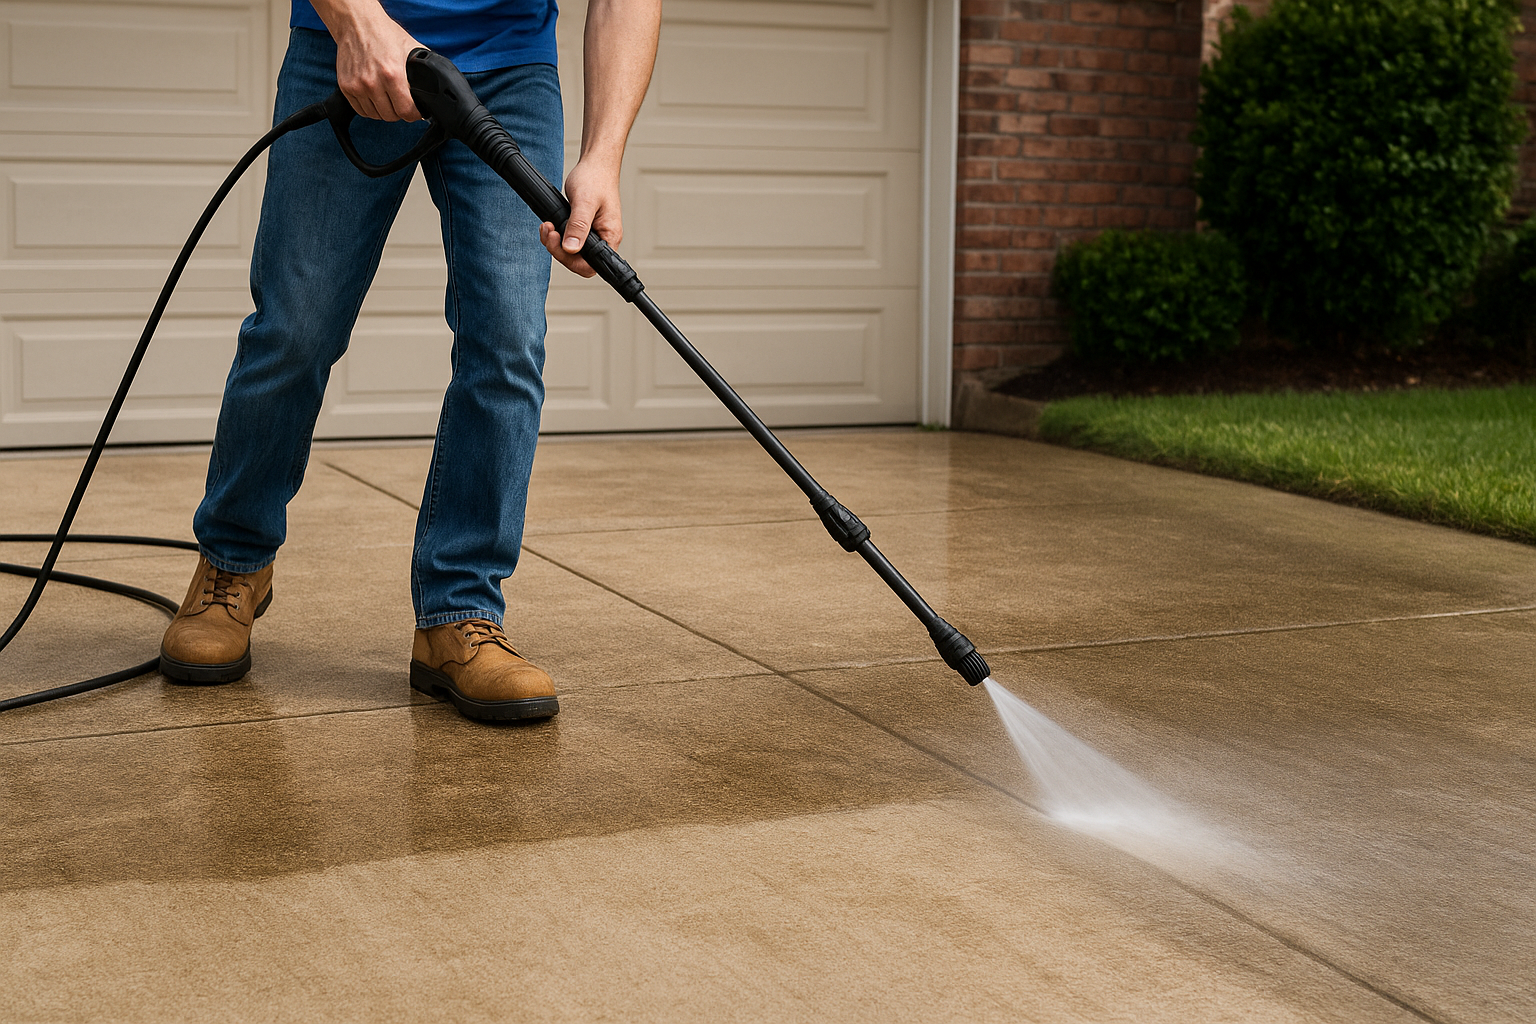
Step 2. Wash the driveway the safe way
With your stains pre-treated and your equipment ready, it’s time to wash. The biggest mistake people make at this stage is grabbing the pressure washer and blasting away without a plan, which leads to streaking, surface damage, and wasted effort. This step is where knowing how to clean a concrete driveway correctly separates a clean result from a patchwork one.
Set your pressure washer correctly
Your nozzle selection controls how much force hits the surface, so start with a 25-degree (green) nozzle for general washing and drop to a 15-degree (yellow) nozzle only on heavy stains or textured concrete. Never use a 0-degree (red) nozzle on concrete; it concentrates too much force in one spot and can pit the surface permanently. Keep your wand eight to twelve inches from the concrete as a starting distance and adjust from there based on how the surface responds.
If you notice white powdery residue appearing during washing, you’re either too close or using too much pressure, back off and increase your working distance immediately.
Work in the right pattern
Apply your concrete cleaner to a manageable section, roughly a four-by-four-foot area, let it dwell for the recommended time on the label, then wash it off before moving forward. Working in small sections prevents the cleaner from drying on the surface, which leaves residue that’s harder to remove than the original stain. Use overlapping, consistent passes moving from the garage toward the street so dirty water flows away from already-cleaned areas. Keep your wand moving at a steady pace; pausing in one spot concentrates pressure and risks etching the concrete. Repeat the same section-by-section approach across the full driveway.
Step 3. Rinse well and fix common issues
Once you’ve washed each section, rinsing is not optional and not something you want to rush. Cleaning solution left on concrete dries into a white, filmy residue that looks worse than the original dirt, and removing it after the fact takes real effort. A thorough rinse also reveals exactly how well your wash worked, since wet concrete can hide stains that show up clearly once the surface dries.
A final rinse done in the same direction as your wash pattern, garage to street, prevents dirty water from tracking back over cleaned sections.
Rinse the full surface in sections
Switch back to your garden hose or use your pressure washer on a low setting to rinse each section completely before moving to the next. Keep the water moving toward the street so you’re always pushing runoff away from the work you’ve already completed. Pay extra attention to the edges along your lawn and garden beds, since cleaning solution pooling near roots can cause damage even after the main driveway surface looks clear.
Spot-check and address what’s left
After rinsing, let the concrete dry for at least 20 to 30 minutes before doing your final inspection. Walk the full driveway in natural light and mark any spots that didn’t come clean. For most remaining problem areas, a second targeted application of pre-treatment and a focused re-wash handles the issue. Use the checklist below to work through the most common post-rinse problems you might find when figuring out how to clean a concrete driveway completely:
- Lingering oil stain: Apply degreaser again, let it dwell longer, and scrub before rinsing
- Streaky lines: Re-wash that section using overlapping passes at a consistent distance
- Green or black residue along edges: Apply diluted sodium hypochlorite, let it sit five minutes, then rinse
- White powdery film: Rinse with clean water and light pressure to clear dried cleaner residue
Step 4. Seal it and prevent new stains
Sealing your concrete driveway is the step that makes your hard work last. Without a sealer, Florida’s rain, UV exposure, and humidity work their way into the porous concrete surface almost immediately, and you’ll be dealing with new stains and biological growth within a few months. Sealing locks the surface so that oil, water, and organic matter can’t penetrate as deeply, which means future cleanings take far less effort. This final step is what separates a driveway that stays clean from one that needs a full wash again before the season’s out.
Choose the right sealer
Not every concrete sealer works the same way, and picking the wrong product for your driveway type leads to peeling, discoloration, or a slippery surface when wet. The two main categories worth knowing are penetrating sealers and topical sealers. Use the table below to match the right product to your situation:
| Sealer Type | Best For | Finish |
|---|---|---|
| Penetrating (silane/siloxane) | Older or textured concrete | Invisible, natural look |
| Acrylic topical sealer | Smooth concrete, decorative finishes | Slight sheen, adds color depth |
| Epoxy coating | Garage aprons, high-traffic zones | High-gloss, very durable |
For most Florida residential driveways, a penetrating silane-siloxane sealer is the practical choice because it resists moisture without creating a slippery surface in rain.
Apply the sealer correctly
Wait until the concrete is completely dry, at least 24 hours after your final rinse, before applying any sealer. Pour the sealer into a paint tray and apply it with a low-nap roller or pump sprayer in thin, even coats, working from one end of the driveway to the other without backtracking. Most sealers require two coats with a 30-minute wait between applications. Keep foot traffic off for at least four hours and vehicles off for a full 24 hours. Following this process is the last part of how to clean a concrete driveway properly, because skipping the seal means starting the whole job over sooner than you should have to.
Keep it clean the easy way
Now you know exactly how to clean a concrete driveway the right way, from pre-treating stains to sealing the surface before Florida’s next rainstorm arrives. The process takes a single afternoon, but the results hold up for months when you follow each step correctly. Skipping prep or the final seal is what sends most homeowners back to square one within weeks, so treat those steps as non-negotiable parts of the job.
Keeping up with routine maintenance, like a light rinse every few weeks and a full wash once or twice a year, prevents the kind of buildup that requires heavy chemical treatments and extended scrubbing. If your driveway has deep staining, surface damage, or biological growth that keeps coming back no matter what you try, a professional cleaning delivers results that hold much longer. Contact the team at Florida Clean Roof to schedule a hardscape pressure washing service and get the job done right.